Multi-factor authentication (MFA) is a measure that enhances the security of the management interface. It adds an extra layer of verification when you log in using a Typing Pal account. The password associated with your account is one factor. A code generated by an external authentication app constitute an additional factor. Only the account owner (teacher, school administrator or super administrator) can set up their own MFA.
Note — MFA cannot be enabled with a login partner (Google, Microsoft or Clever).
Setting Up MFA With an External Authentication App
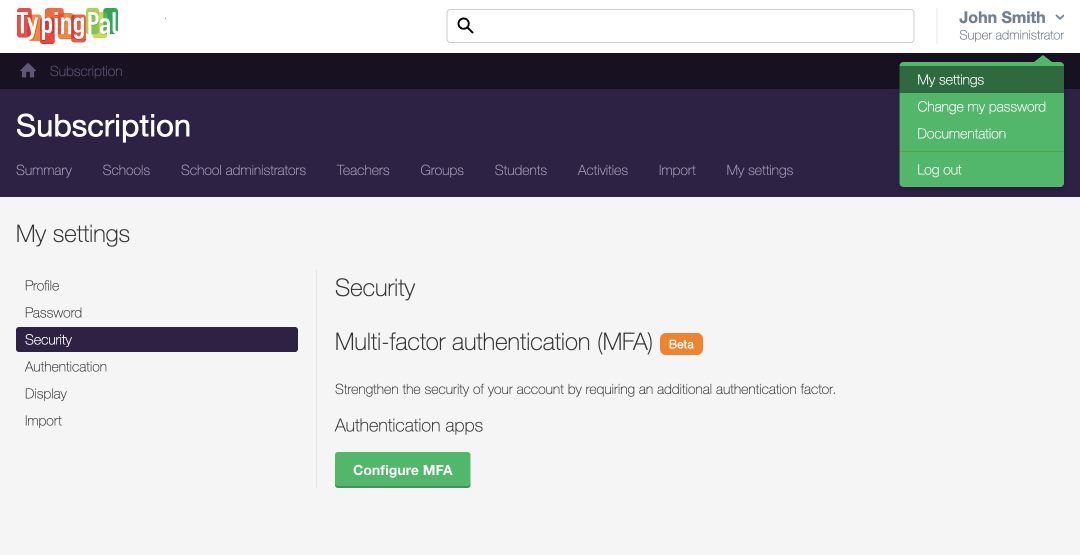
In the Typing Pal management interface, next to your username (upper right-hand corner of the screen), click the drop-down menu and select My settings.
Go to the Security section.
Click the Configure MFA button.
1
2
3
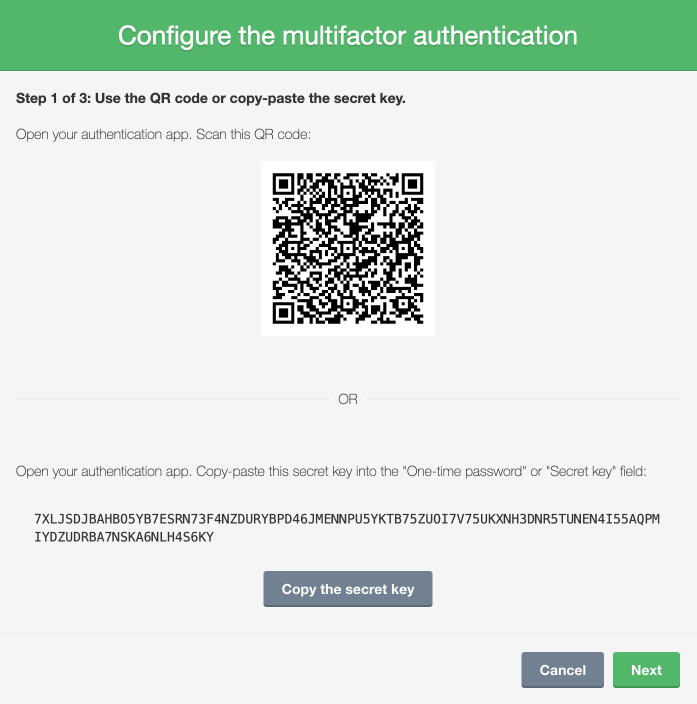
A window with a QR code and a secret key will pop up. There are two options for entering the data in your external authentication app. Option 1: Scan the QR code with the authentication app. Option 2: Copy-paste the secret key in the corresponding field in the authentication app. This field is sometimes called One-Time Password.
4 – option 1
4 – option 2
6
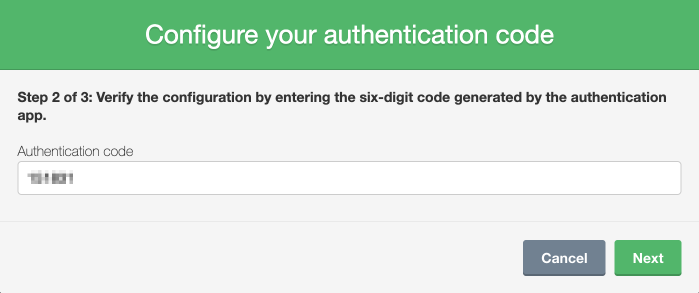
Follow the steps in your authentication app until you get an authentication code or one-time password made up of six digits. Copy this code.
Return to your Typing Pal account, then click Next.
Paste the 6-digit code in the Authentication code field.
Click Next.
7
8
Note — The 6-digit code is temporary and changes quickly. If it expires before you use it, simply return to the authentication app and copy the new code.
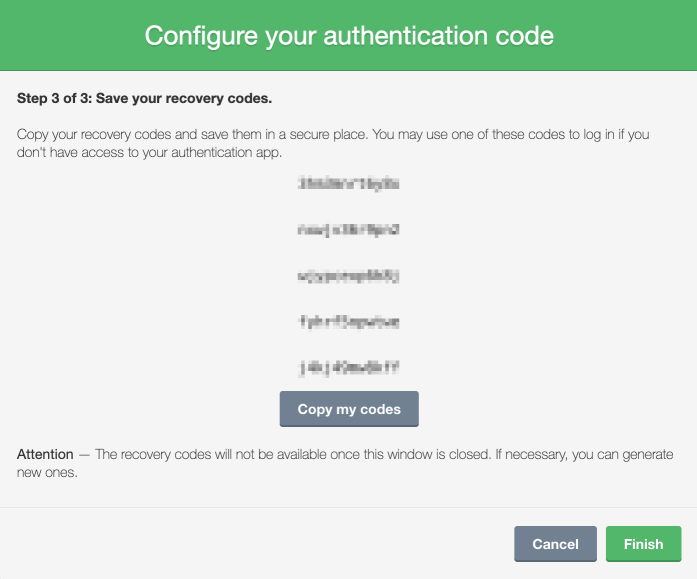
The management interface will provide five complex recovery codes. These codes should only be used for troubleshooting, for example, if you cannot access your authentication app. Copy these recovery codes and save them in a secure location.
9
10
Tip — Save your recovery codes in several secure locations so that you always have them on hand in case of authentication issues (e.g. working from home, loss of your device or problems accessing your authentication app).
Click Finish.
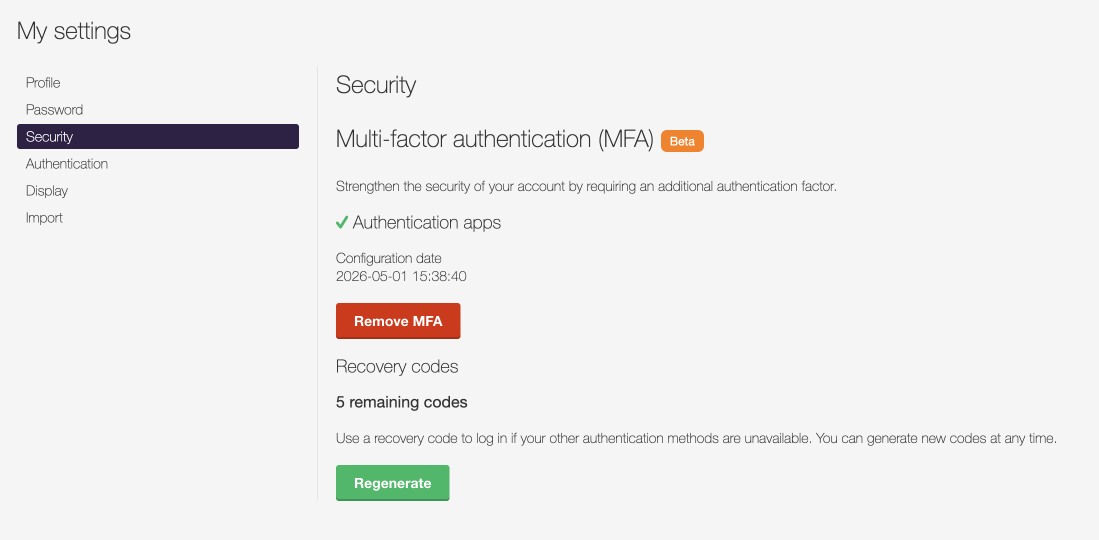
The Security tab will now show additional information about MFA, like the number of recovery codes you have left.
Logging In With MFA
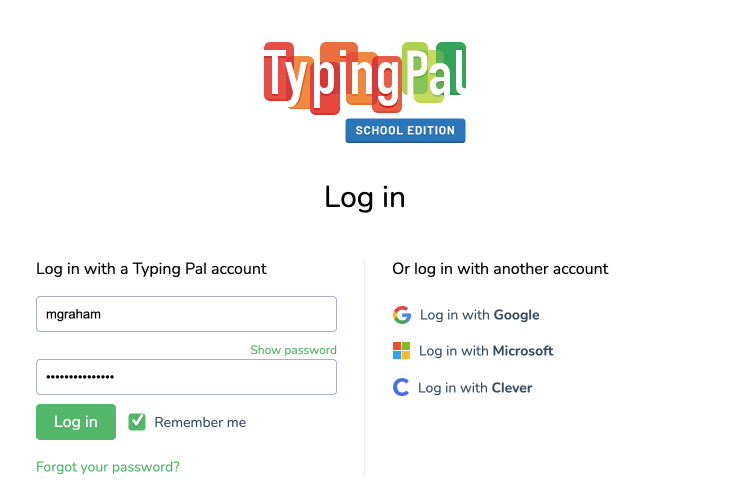
When you log in to your Typing Pal account, you must first enter your username (or subscription code if you are a super administrator) and your password, then click Log in.
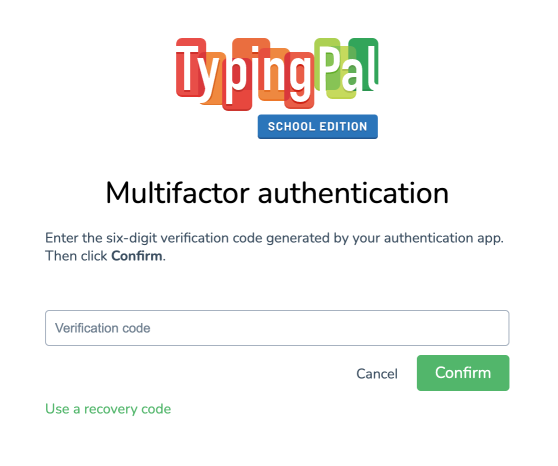
If MFA is enabled, the log in page will require another authentication factor.
Open your authentication app and copy the code provided.
Return to the Typing Pal log in page and paste the code in the Verification code field.
Click Confirm.
2
3
If you use an authentication app that is connected to your browser, the code might be entered automatically.
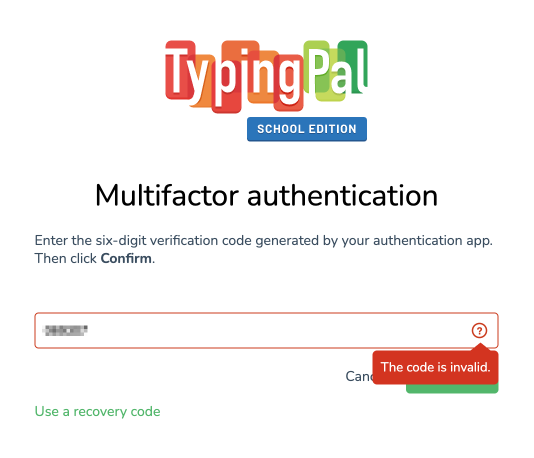
Having issues with your verification code?
If you are having trouble logging in with MFA, use one of your recovery codes.
Click the Use a recovery code link.
1
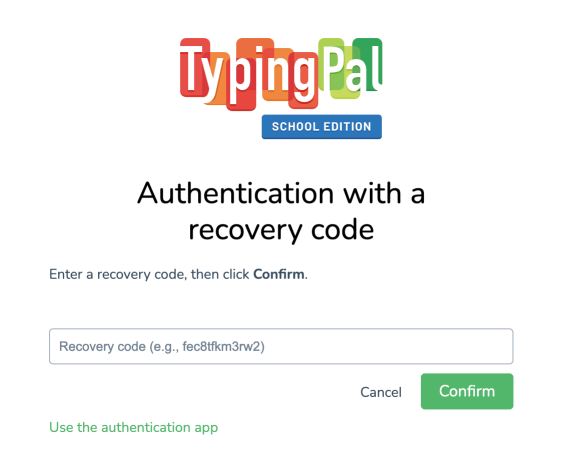
Enter one of your recovery codes in the corresponding field.
Click Confirm.
2
3
Note — Recovery codes can only be used once. If you lose or use all of them, you can generate new ones in your settings.
If you still cannot log in with MFA (e.g. you have used all your recovery codes), ask a super administrator or school administrator to delete your MFA configuration. You will then be able to log in with just your password.
You can remove MFA from your account or the accounts for which you have management privileges:
Super administrators are able to edit school and teacher administrator accounts.
School administrators are able to edit teacher accounts.
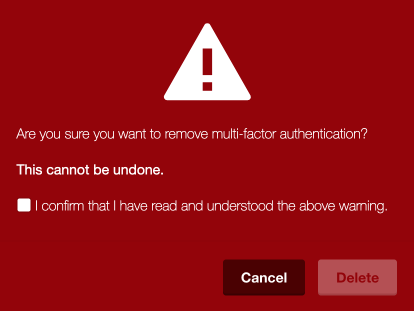
Warning — You cannot undo this process. Only the owner of the account will be able to reset MFA if they want to use it again. You cannot set up MFA for an account other than your own.
Removing MFA From Your Account In My settings
Go to the Security section in the My settings tab.
Click the Remove MFA button.
1
2
In the window that pops up, check I confirm that I have read and understood the above warning.
Click Delete.
3
4
Removing MFA From an Account’s Profile
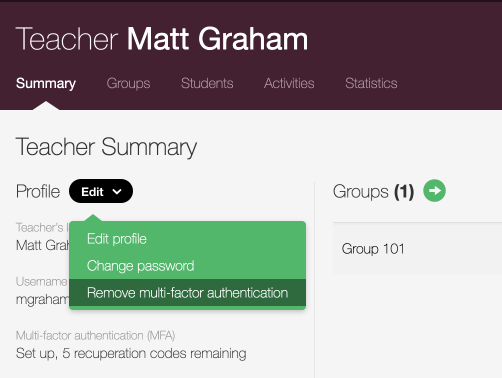
Someone with management privileges for an account can remove MFA from the account’s profile.
Go to the Summary tab.
In the Profile section, click Edit.
In the drop-down menu, select Remove multi-factor authentication.
1
2
3
In the window that pops up, check I confirm that I have read and understood the above warning.
Click Delete.
4
5
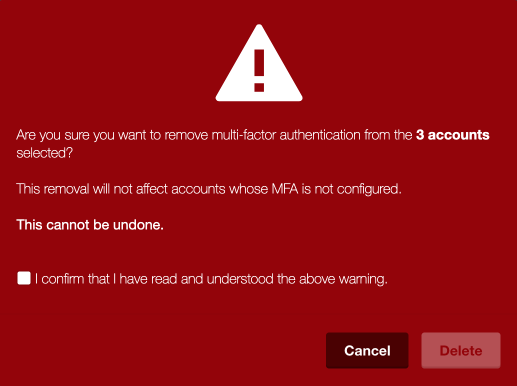
Removing MFA From Multiple Accounts
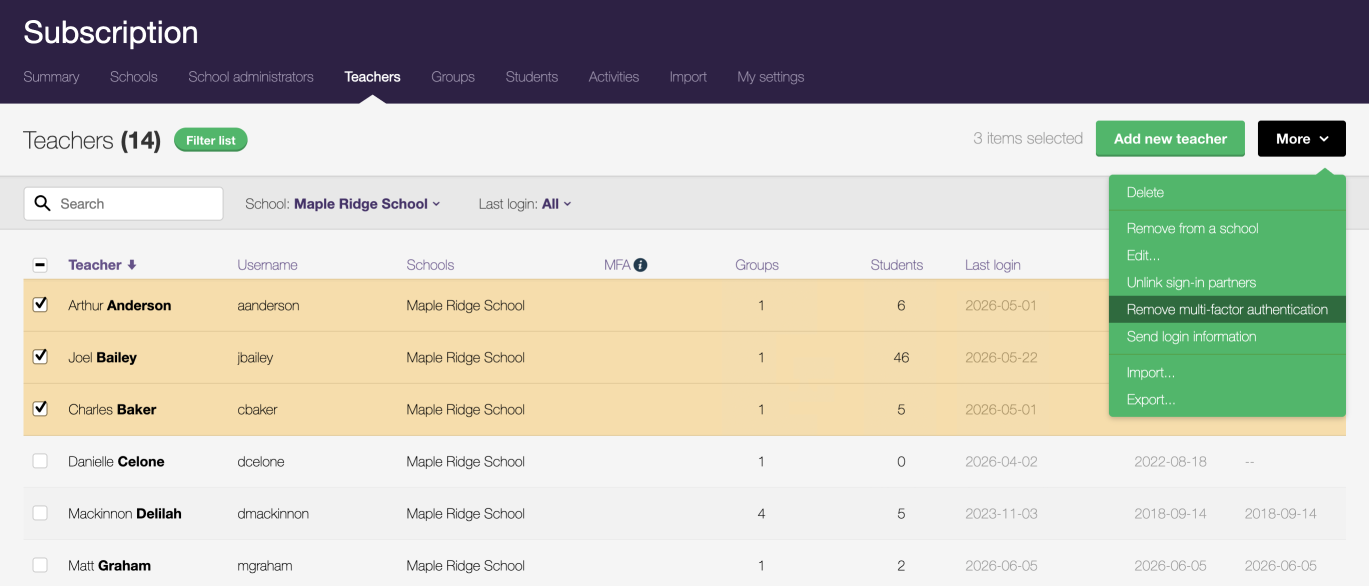
Super administrators and school administrators can remove MFA from multiple accounts at once.
Go to the School administrators tab or the Teachers tab, depending on the context.
Check the accounts to be edited.
In the More drop-down menu, select Remove multi-factor authentication.
1
2
3
In the window that pops up, check I confirm that I have read and understood the above warning.