Logging In With ClassLink for the First Time
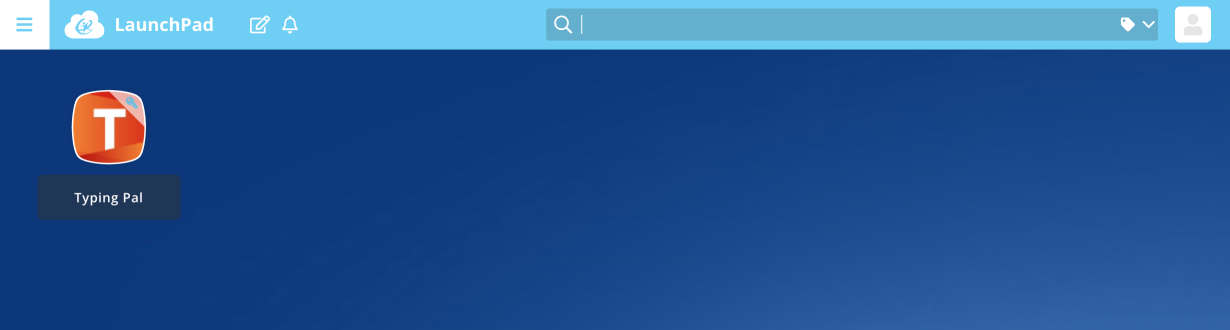
Once you have configured ClassLink so the app is displayed in the LaunchPad, Typing Pal’s icon will appear.
To launch and log in to Typing Pal, double-click this icon. Typing Pal will open in a new window.
If the account is part of multiple groups or schools, a pop-up will appear asking users to choose which group or school the user wants to log in to.
Students
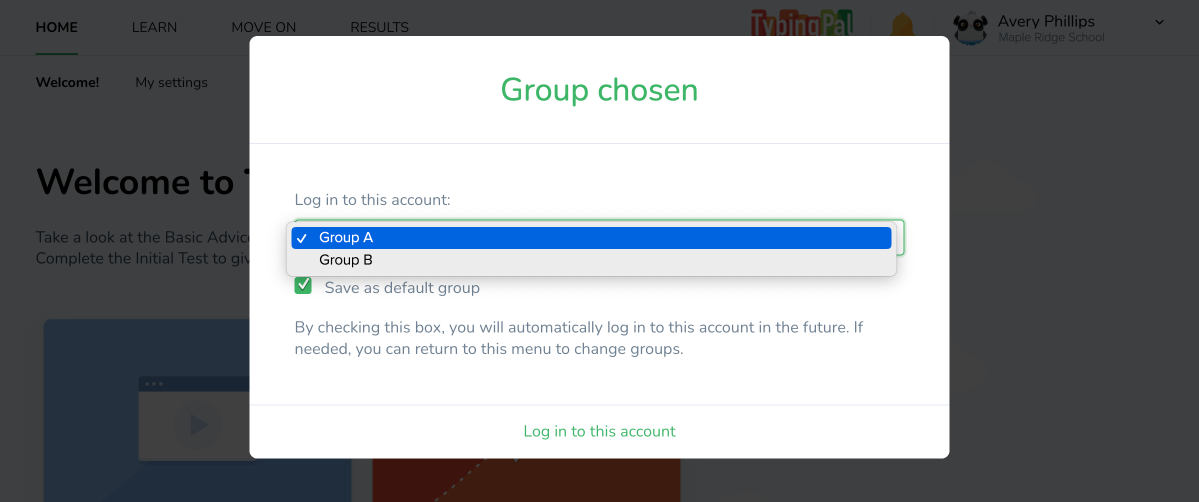
Students who are part of multiple groups must specify to which group they want to log in. They can check the box to save their default group and automatically log in to it in the future. If no default group is saved, the pop-up will appear each time they log in.
Tip — Prevent students from having to choose their group by setting their default group before they log in for the first time.
Teachers and school administrators
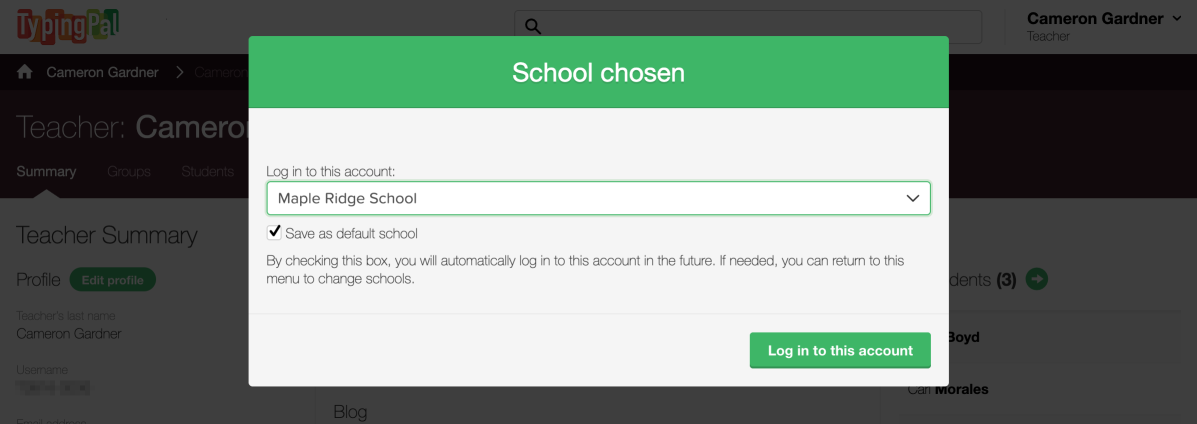
If you are part of more than one school and the administrator did not set a default school for your account, you must choose which school you want to log in to using the drop-down menu.
Check the box to save it as your default school. You will automatically log in to this school in the future. You can choose not to set a default school, and the pop-up will appear each time you log in.
Setting a Default Group or School
Setting a Default Group for Students
If students are part of multiple groups, you can set their default group yourself. This will make it easier for them to log in for the first time and in the future. You can set their default group in Typing Pal’s management interface.
- Go to the Students tab.
- Check the boxes to select students.
- Click More, then Edit.
- Select the group from the drop-down menu of the Default group field.
- Click Edit.
If the button is grayed out, the selections are not compatible with the change you want to make. Review the students you selected and make sure they are all members of the group you want to assign them to by default, for example.
You can also change a student’s default group in the Student Summary:
- Go to the Students tab.
- Click the student’s name.
- In the Student Summary, click Edit profile.
- Select the group from the drop-down menu.
- Click Save.
Setting a Default School for Teachers
If you have a school administrator or super administrator account, you can set the default school for teachers who are part of multiple schools.
- Go to the Teachers tab.
- Check the boxes to select teachers.
- Click Edit.
- Select the school from the drop-down menu.
- Click Edit.
You can also change a teacher’s default school in the Teacher Summary:
- Go to the Teachers tab.
- Click the teacher’s name.
- In the Teacher Summary, click Edit profile.
- Select the school from the drop-down menu.
- Click Save.
Setting a Default School for School Administrators
If you are a super administrator, you can set the default school of school administrators who are part of multiple schools.
- Go to the School administrators tab.
- Check the boxes to select accounts.
- Click Change default school.
- Select the school from the drop-down menu.
- Click Save.
You can also change an administrator’s default school in the School Summary:
- Go to the School administrators tab.
- Click the administrator’s name to see the School Summary.
- Under Assigned administrators in the left column, hover your mouse over the administrator’s name and click the ⋯ menu that appears.
- Select the school from the drop-down menu.
- Click Save.